

Pressing TAVINOX PRESS fittings — step by step
The exact installation sequence for press fittings. Tube preparation, checks and the pressing itself.
1. Cutting the tube
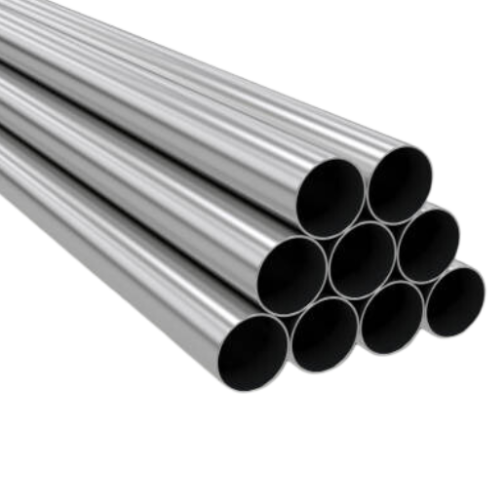
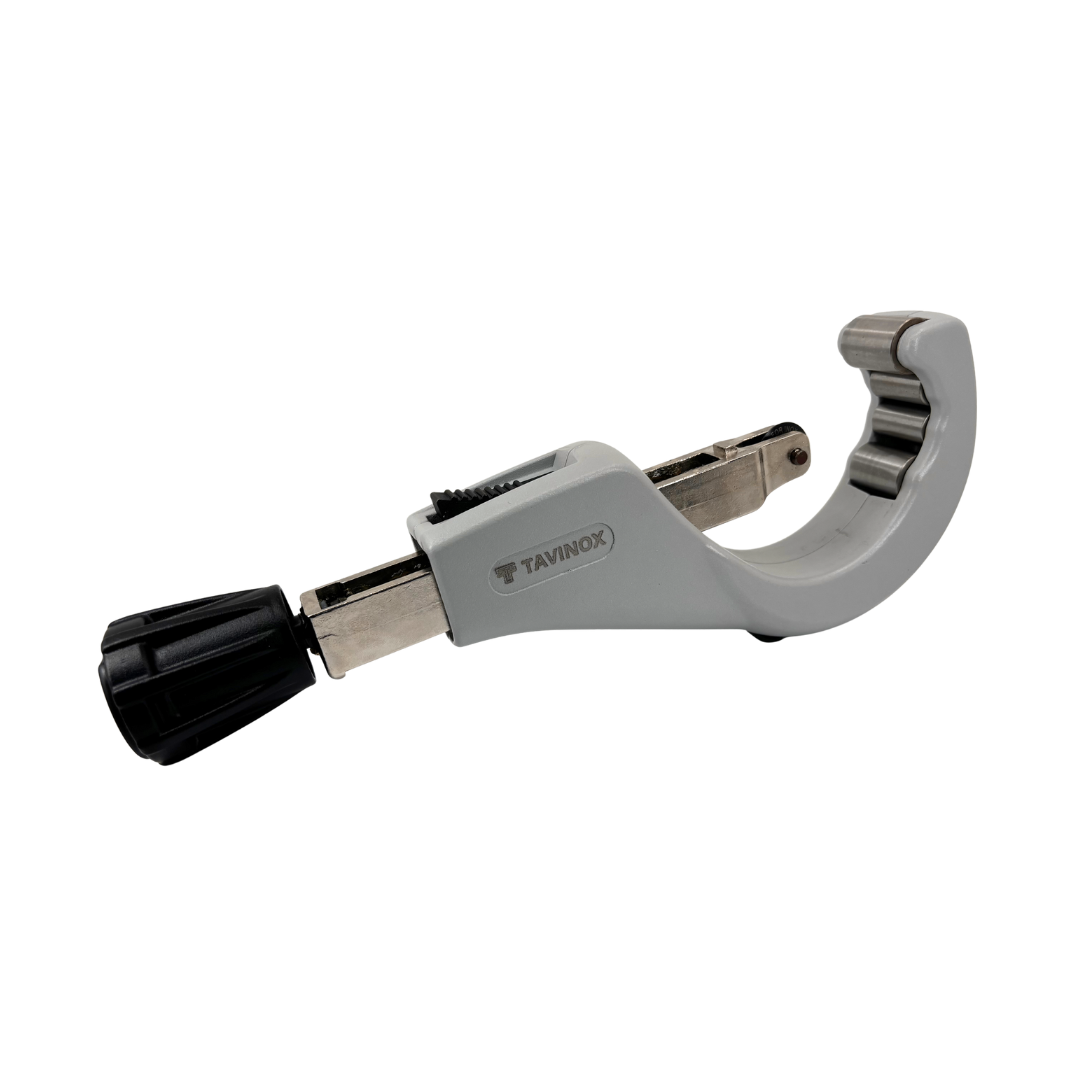
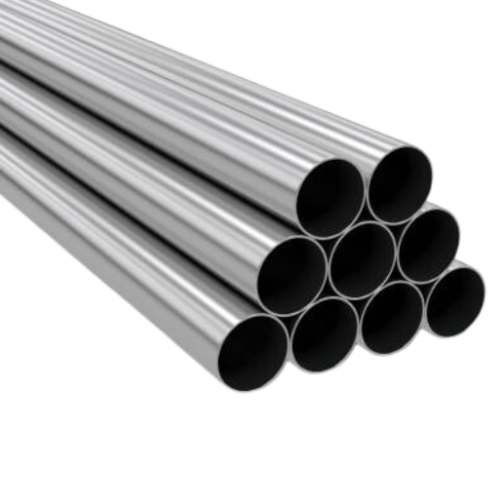
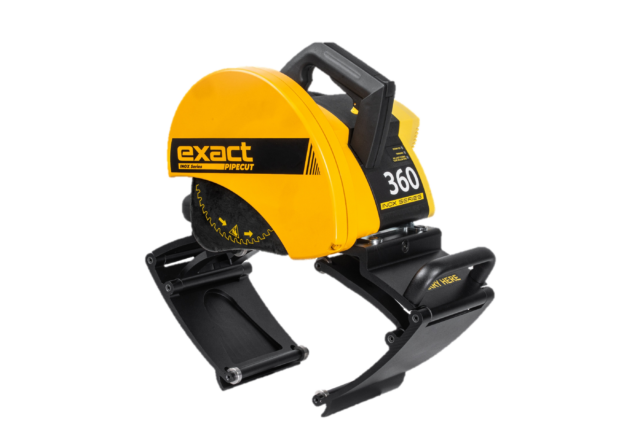
Always cut the tube square to its axis with a dedicated stainless steel tube cutter (for example 00572.IN76 for OD 6–76 mm). Never use an angle grinder with an abrasive metal-cutting disc — it transfers iron particles onto the stainless steel surface and causes pitting corrosion.
Use only tools marked Inox or intended for stainless steel. After every cut, check that the cut is square — an angled cut makes it impossible to insert the tube into the fitting correctly.
Videos on this topic
From the TAVINOX Academy series, filmed on a real tube.
Episode #1: How to press TAVINOX PRESS correctly, Ø 15–28 mm
Episode #2: How to press TAVINOX PRESS correctly, Ø 35–54 mm
Episode #3: Pressing Ø 76.1–108 mm – single and double pressing
2. Deburring
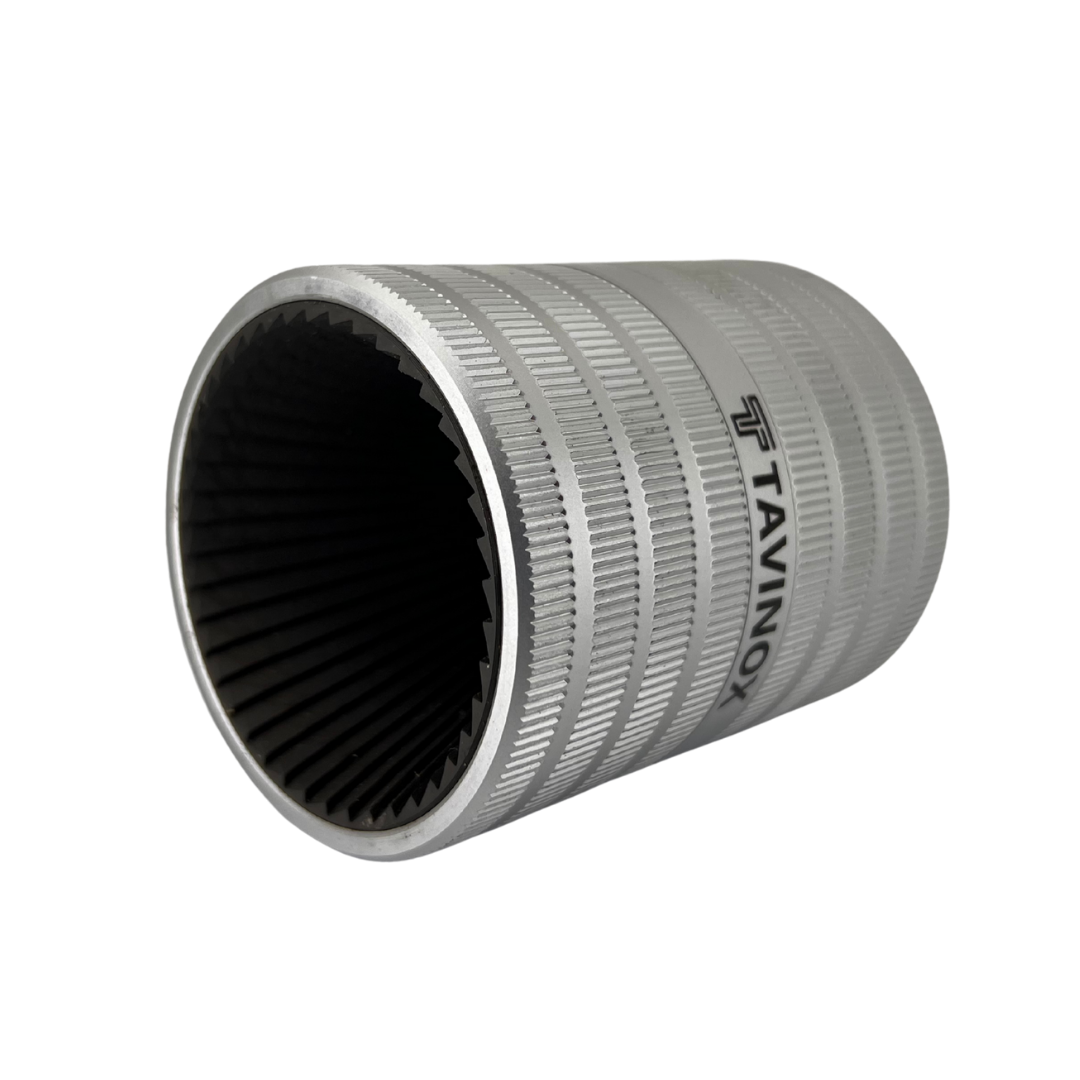
After every cut the burrs must be removed on BOTH sides of the tube — outside and inside. The internal burr is particularly dangerous: as the tube is pushed into the fitting it can damage the O-ring, and the joint then leaks.
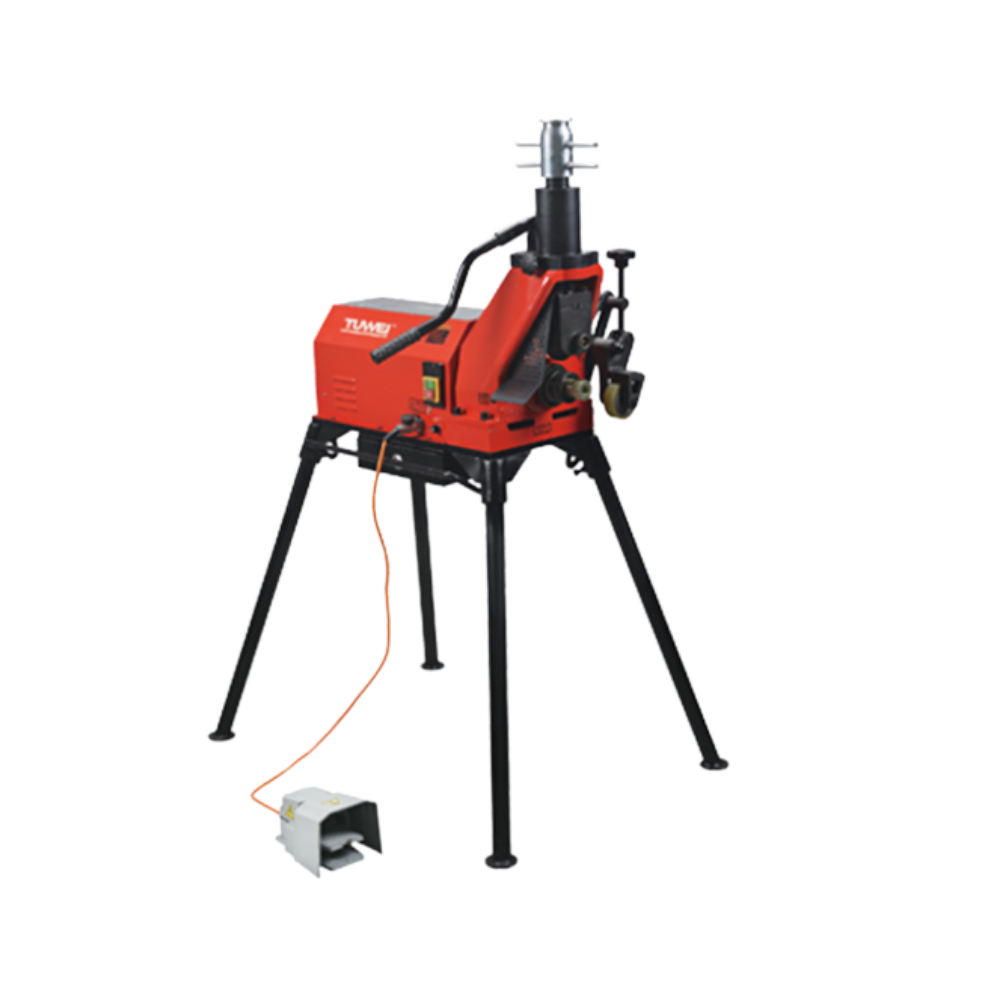
Use a universal deburring tool (for example 00771.0 for OD 10–56 mm). Where dozens of joints are made on site, we recommend the 00771.10 adapter, which you fit into a cordless drill, for faster work.
3. Checking the fitting
Before installation, check visually that:
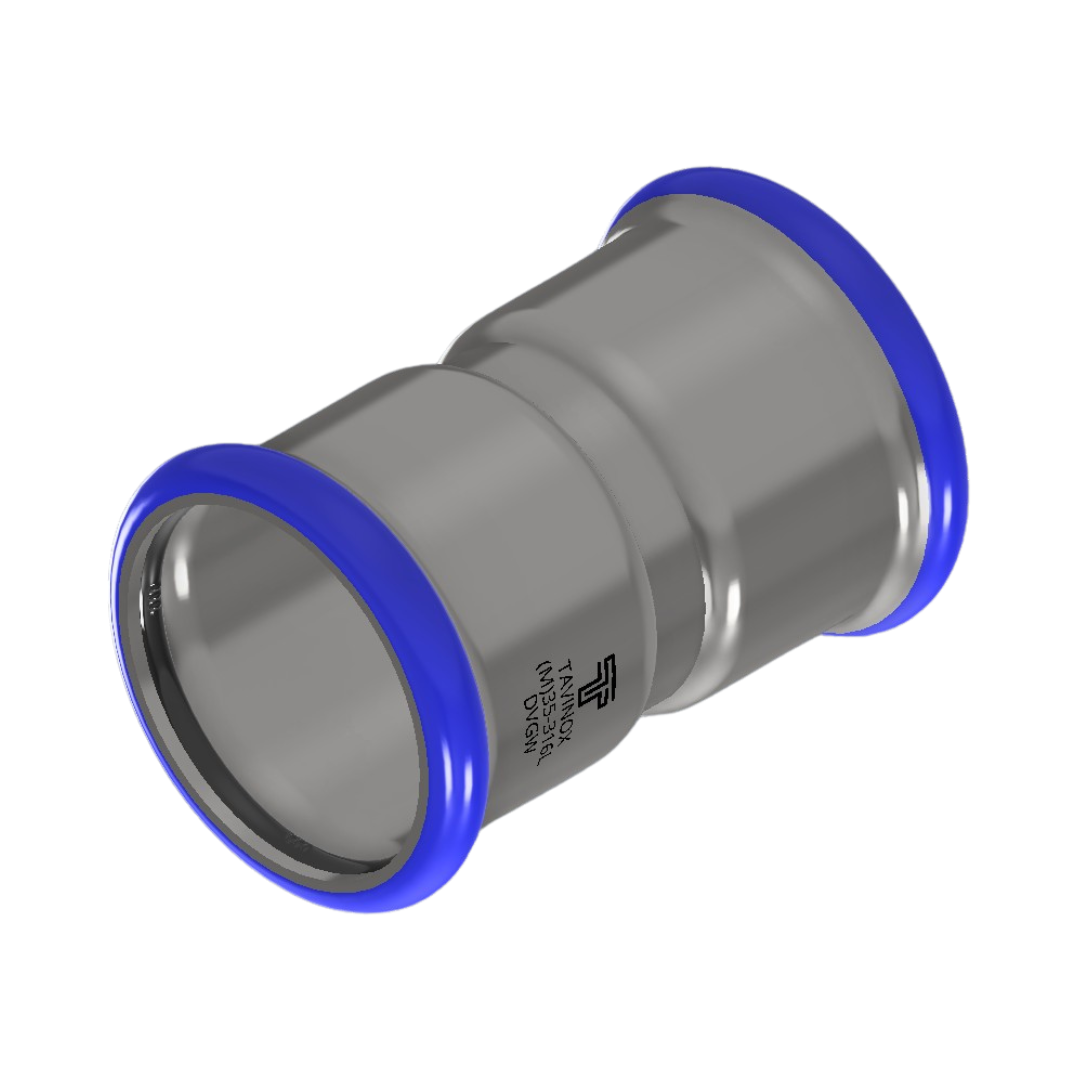
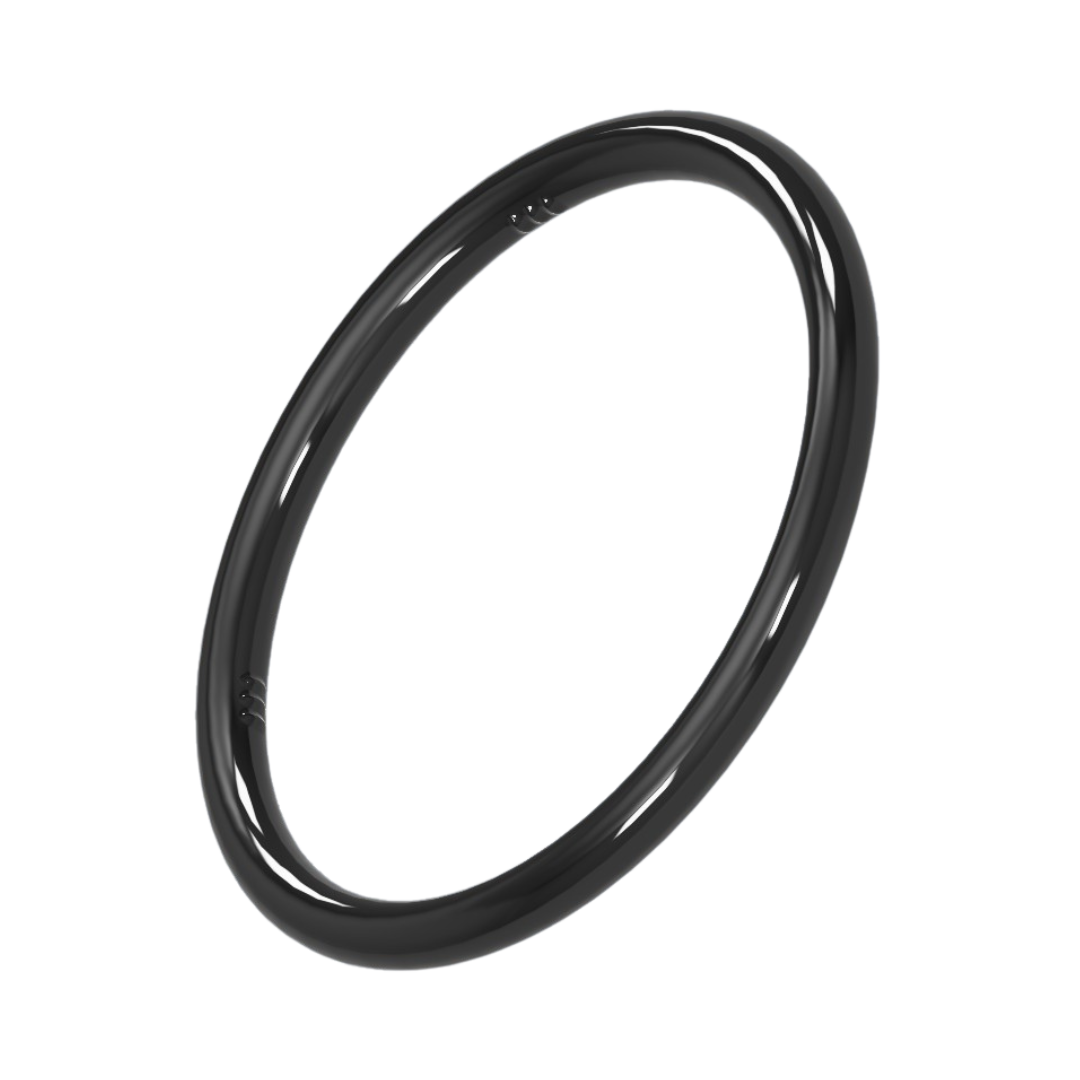
- the O-ring is correctly seated and undamaged
- the size of the fitting matches the tube
- the blue plastic indicator ring is in place (it signals an unpressed joint)
- the fitting is clean, free of dirt and corrosion deposits
4. Marking the insertion depth
Push the tube into the fitting up to the stop and use a marker pen to draw a line on the tube at the edge of the fitting. Once the tube is inserted, the gap between the mark and the fitting must be less than 3 mm. This is the check — if the gap is larger, the tube is not inserted far enough.
5. Inserting the tube
Push the tube square into the fitting, up to the stop. A little water may be used to make insertion easier. NEVER use lubricant, silicone or sealing paste — these materials can damage the O-ring and compromise the leak-tightness of the joint.
Once the tube is inserted, check the position of the mark — the gap must be < 3 mm.
6. Pressing
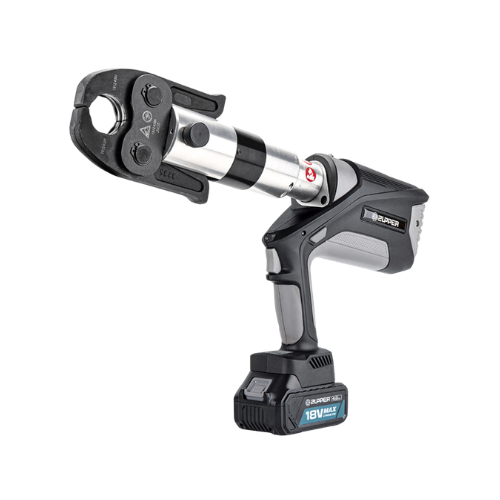
Place the press jaws on the fitting, square to the axis of the tube. On the TAVINOX PRESS system, use only jaws with the M profile. TH, V and U jaws are not compatible and will produce a leaking joint.
Minimum pressing forces:
- OD 15–28 mm: 19 kN (BLM-1930)
- OD 35–54 mm: 32 kN (ED-1550)
- OD 76.1–108 mm: 65 kN (ED-60100)
Once the joint is pressed, the blue indicator ring falls off automatically. If it does not, remove it by hand. Pressing is complete when the socket of the fitting is completely closed by the jaws.
Would you like the TAVINOX PRESS installer certificate?
Complete the online training and get a certificate valid for 2 years.